
The first time I attempted making a concrete planter, it was an absolute disaster. I mixed the concrete too wet, used a flimsy plastic container as a mold, and somehow managed to get the stuff everywhere—including in my hair. The final product cracked as soon as I tried to remove it from the mold, leaving me with a pile of rubble and a bruised crafting ego.
Fast forward two years and about a dozen YouTube tutorials later, and my home is now filled with concrete planters that friends constantly try to steal (or at least beg me to make for them). And honestly? They’re ridiculously easy to create once you know the tricks.
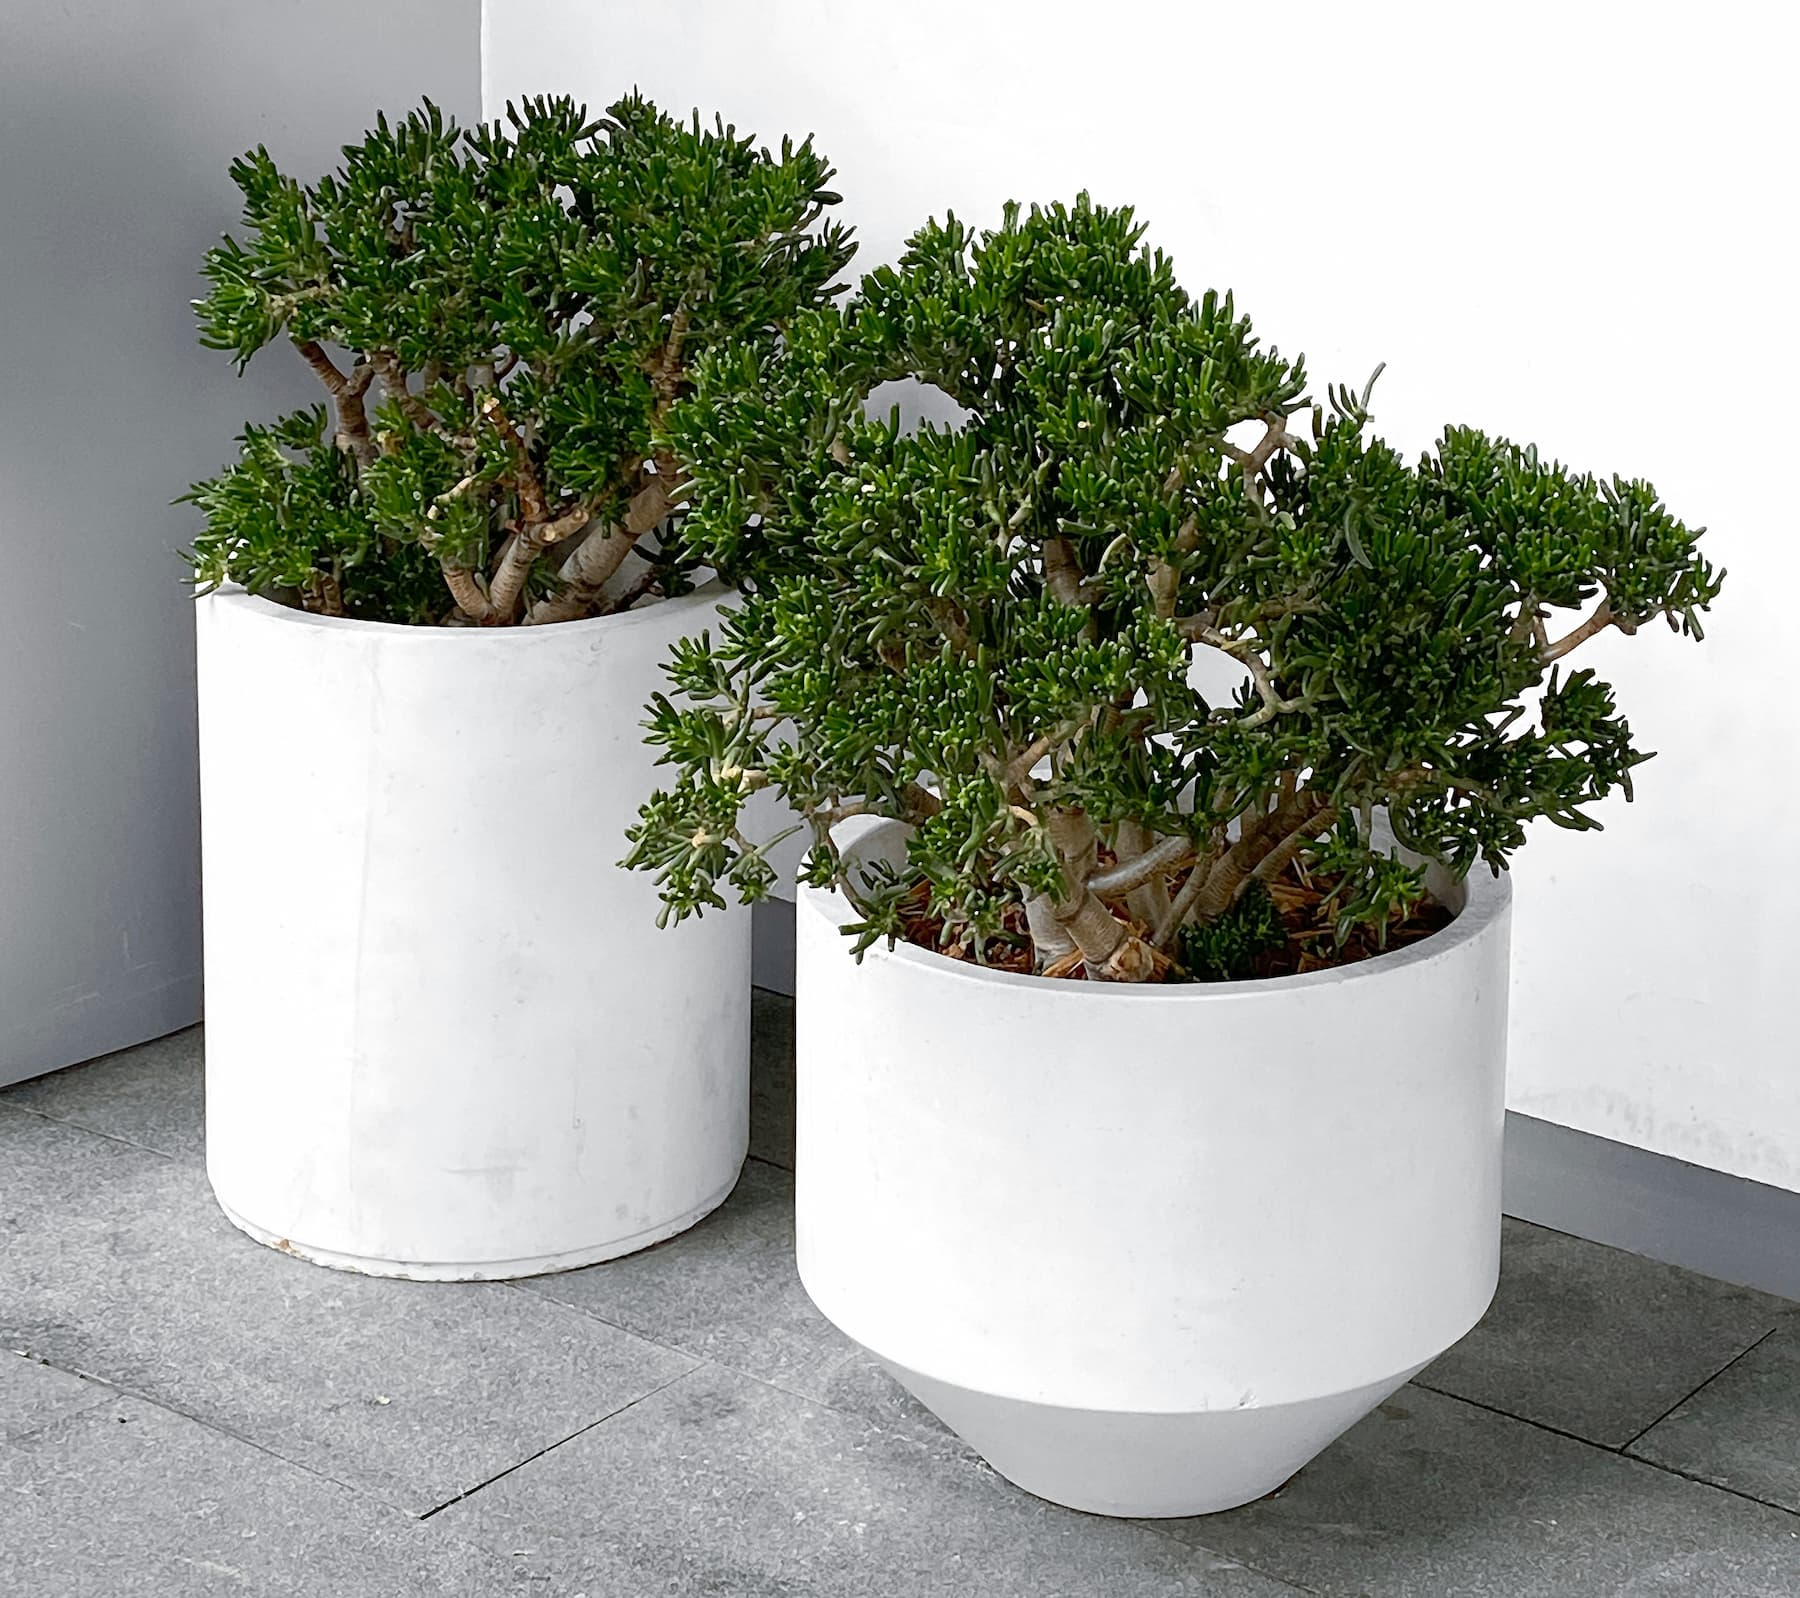
There’s something deeply satisfying about the contrast between cold, industrial concrete and the soft, living greenery of plants. It’s that perfect balance of hard and soft, structured and wild—and it works in practically any space, from minimalist apartments to cozy cottages.
So if you’ve been eyeing those $75 concrete planters at that boutique home store (you know the one), put your wallet away. I’m about to show you how to make your own for less than $10 each.
Why I’m Obsessed With Concrete Planters
Before we dive into the how-to, let me evangelize about concrete planters for just a minute:
- They’re practically indestructible (a big plus for those of us who have accidentally knocked over one too many ceramic pots)
- The industrial aesthetic works with so many design styles
- They age beautifully, developing character and patina over time
- They’re incredibly affordable to make
- The weight provides stability for top-heavy plants
- You can customize them endlessly
Plus, there’s something deeply grounding about working with such an elemental material. On days when I’ve spent too many hours staring at screens, mixing concrete with my hands (well, with gloves on) feels like a return to something real and tangible.
What You’ll Need
Let’s gather our supplies before we get our hands dirty:
Materials:
- Quick-setting concrete mix (I like Quikrete’s 5000 for planters)
- Plastic containers for molds (more on choosing these below)
- Cooking spray or petroleum jelly
- Disposable mixing container (an old bucket works great)
- Mask for dust protection
- Rubber gloves
- Sandpaper (medium and fine grit)
- Optional: Concrete sealer
- Optional: Acrylic paint for decorating
Tools:
- Mixing stick or old paint stirrer
- Measuring cup for water
- Utility knife
- Sandpaper or sanding block
- Small disposable container to create drainage hole
- Small trowel or old spoon
Look at that list—nothing fancy required! Most of these items are probably already hiding in your garage or can be picked up for a few dollars.
Choosing Your Molds
This is where you can get creative. Almost any plastic container can work as a mold for a concrete planter. The trick is finding two containers that nest together with about 1-1.5 inches of space between them—this will create the walls of your planter.
Some ideas that have worked well for me:
- Plastic food storage containers in different sizes
- Large yogurt containers nested inside smaller ones
- Plastic flower pots (for a more traditional shape)
- Milk cartons cut down to size (creates interesting geometric shapes)
- Plastic bottles with the tops cut off
For my first successful planter, I used an empty sour cream container inside a slightly larger takeout container. Not exactly glamorous, but the end result was surprisingly elegant!
One important tip: avoid using containers with lots of texture unless you want that texture impressed in your final planter. I learned this lesson when I ended up with a planter that perfectly replicated the recycling symbol and product information from the bottom of the container. Oops.
The Step-by-Step Process
Alright, let’s make some planters! I suggest working on a weekend afternoon when you’re not rushed—it’s not a long project, but concrete waits for no one once it’s mixed.
Step 1: Prepare Your Workspace
First things first: concrete is messy. I recommend working outside if possible, or at least laying down several layers of newspaper or an old tablecloth you don’t care about. Wear clothes you don’t mind getting dirty—I learned this lesson when my favorite jeans became permanently decorated with concrete splatters.
Step 2: Prepare Your Molds
This step is crucial! Spray the inside of your larger container and the outside of your smaller container generously with cooking spray, or coat with petroleum jelly. Be thorough—this is what will allow you to remove the concrete planter from the molds later.
If you’re creating a drainage hole (highly recommended for most plants), take your smaller disposable container (like a bottle cap or small plastic cup) and coat it with cooking spray as well. This will be placed inside your mold to create the hole.
Step 3: Mix the Concrete
Put on your dust mask before opening the concrete mix—the dust isn’t great for your lungs. Pour some of the dry concrete mix into your mixing bucket. The amount depends on the size of your planter, but I usually start with about 2-3 pounds for a small to medium planter.
Add water gradually according to the package instructions. Here’s where experience has taught me a valuable lesson: less water is better. The mixture should be thick, like a very stiff cookie dough. If it’s too watery, your planter walls will be weak and prone to cracking. I aim for a consistency where it holds its shape when I scoop it but can still be smoothed out.
Mix thoroughly until you don’t see any dry spots. Take your time with this step—thorough mixing means stronger planters.
Step 4: Build Your Planter
Now for the fun part! Scoop some of your concrete mixture into the bottom of the larger container, creating a layer about 1-2 inches thick. This will be the base of your planter.
If you’re adding a drainage hole, press your small container (bottle cap, etc.) into the center of this base.
Next, place your smaller container on top of this base, pressing down gently so it sits in the concrete but doesn’t touch the bottom of the larger container. Center it carefully.
Now, continue adding concrete around the sides, between the two containers. Work your way around, adding concrete evenly to keep your smaller container centered. Fill to about half an inch from the top of the smaller container.
Tap the sides of your larger container gently to help release air bubbles. I like to use a chopstick to poke around in the concrete mix to help remove any hidden air pockets.
Use your trowel or spoon to smooth the top edge of your planter. This part will be visible, so take your time to get it looking how you want.
Step 5: Let It Set
Now comes the hard part—waiting! Leave your mold undisturbed for at least 24-48 hours, depending on your climate and the concrete mix you used. I’ve found that covering the mold loosely with plastic wrap helps it cure more evenly, especially in dry climates.
The concrete needs to be completely dry before you attempt to remove it from the mold. Trust me on this—I’ve ruined more than one planter by being impatient.
Step 6: Remove the Mold
Once your concrete is fully cured, it’s time for the big reveal! Carefully flip your container upside down and gently tap around the outside of the larger container to help release the concrete. Remove the larger container first, then gently work the smaller container out from the inside.
If you added a drainage hole component, carefully push it out. If it’s being stubborn, you can use a screwdriver to help pop it out.
This moment always feels a bit like a magic trick to me—suddenly, this industrial material has transformed into something with purpose and shape.
Step 7: Sand and Finish
Your planter will likely have some rough edges or imperfections—embrace them as part of the handmade charm! But if you want a smoother finish, now’s the time to sand those edges.
Start with medium-grit sandpaper to smooth any major rough spots, then finish with fine-grit for a polished look. I focus mainly on the rim of the planter since that’s the most visible part.
If you want to seal your planter (which can help prevent mineral buildup on the outside over time), apply a concrete sealer according to the product instructions. This step is optional but will give your planter a longer life, especially if it will be exposed to the elements.
Step 8: Get Creative
Here’s where you can personalize your creation! Some ideas I’ve tried:
- Painting the bottom third in a bright color for a “dipped” look
- Adding gold leaf to the rim for a touch of glam
- Gently distressing the edges for a weathered look
- Stamping patterns into the concrete while it’s still wet
My personal favorite technique is to add a little concrete pigment to the mix for a subtle color throughout the planter. Black pigment creates a sleek, modern look that lets the plants be the real stars of the show.
Planting in Your New Creation
Before adding soil and plants to your new concrete masterpiece, I recommend “curing” it by filling it with water and letting it sit for 24 hours. Concrete is naturally alkaline, and this process helps leach out some of the lime that could potentially harm sensitive plants.
After curing, add a layer of small rocks or broken pottery pieces at the bottom to improve drainage (especially important if you didn’t add a drainage hole). Then add your potting mix and plant as usual.
My Favorite Plants for Concrete Planters
I’ve found that certain plants just look extraordinary against the industrial backdrop of concrete:
- Succulents and cacti: The architectural shapes create beautiful contrast
- Silver-leaved plants like dusty miller or lamb’s ear
- Trailing plants that cascade over the edges, softening the hard lines
- Ferns: Their delicate fronds are a beautiful juxtaposition to the sturdy concrete
My absolute favorite pairing is a concrete planter with a dramatic black snake plant (Sansevieria). The strong vertical lines of the plant echo the modernist vibes of the planter—design perfection with minimal effort!
When Things Go Wrong
Let’s talk troubleshooting, because concrete can be finicky:
Problem: Planter is stuck in the mold. Solution: Try putting the whole thing in the freezer for a few hours. The concrete will contract slightly, often enough to release it from the mold.
Problem: Cracks appear during drying. Solution: Your mix was likely too wet. For small cracks, you can make a paste of dry concrete mix and water to fill them. For major structural cracks, unfortunately, it’s best to start over and mix thicker next time.
Problem: The surface is full of tiny holes. Solution: These are air bubbles that got trapped. In future projects, tap your mold vigorously while filling to release bubbles, or even use a small vibrating tool against the outside of the mold.
The Joy of Handmade
There’s something special about creating functional objects with your own hands. Every time I water the jade plant in the concrete planter on my windowsill, I feel a little spark of pride. That’s not just a plant container—it’s a tiny piece of my creativity made tangible.
And when friends compliment my “expensive” planters? Well, I might let them believe I splurged at that fancy home store for just a minute before revealing they can make their own for the cost of a fancy coffee.
Have you tried making concrete planters? I’d love to see your creations! Share them with us on Instagram using #BLBConcreteDIY. And if you have any questions about the process, drop them in the comments below—our community has plenty of concrete wisdom to share.
*Want more industrial chic DIY projec
Leave a Reply